Composing UIs with Finite State Machines
8 min readFinite State Machines, often abbreviated as FSM is a mathematical computation model that could be useful for building user interfaces, especially nowadays that front-end apps are becoming much more complex due to the nature of the problems that they solve. Did you know that 🧑🚀 SpaceX used JavaScript for the spaceship flight interface? 🤯.
In this article, I'm going to explain the benefits of composing user interfaces using finite state machines. Let's dive in! 🤿
What is a finite state machine?
A finite state machine is an abstract machine that can be in exactly one of a finite number of states at any given time. The FSM can change from one state to another, this change is called a transition.
A FSM is defined by:
- Σ: The input alphabet.
- S : A finite, non-empty set of states.
- δ : The state-transition function (δ: S x Σ -> S).
- s0 : The initial state, an element of S.
- F : The set of accepting states.
Now you're probably like wtf 🤯, this sounds scary 😱 and academic, right? Let's try to illustrate this definition with a real world example to understand it better.
Understanding a FSM
The world is full of finite state machines, in fact, you are using them every day, but probably you didn't think of them as such. I'm sure that after reading the post you'll start pointing them in the real world, trust me I'm doing it right now 😂
A traffic light 🚦 is a simple example to understand FSM. For the sake of this consider that our traffic light has 3 colors.
At any point in time, the traffic light will be on one of the following scenarios:
- 🟢 Green
- 🟡 Yellow
- 🔴 Red
Those scenarios are called states and because the set is limited to 3 states we can say that is finite.
The initial state of the machine is 🟢 green and whenever one of the lights is on the output of the other ones is off.
The state will change in response to an input, that in our case is a timer, through a transition. The transition is a mapping that defines the path of our state.
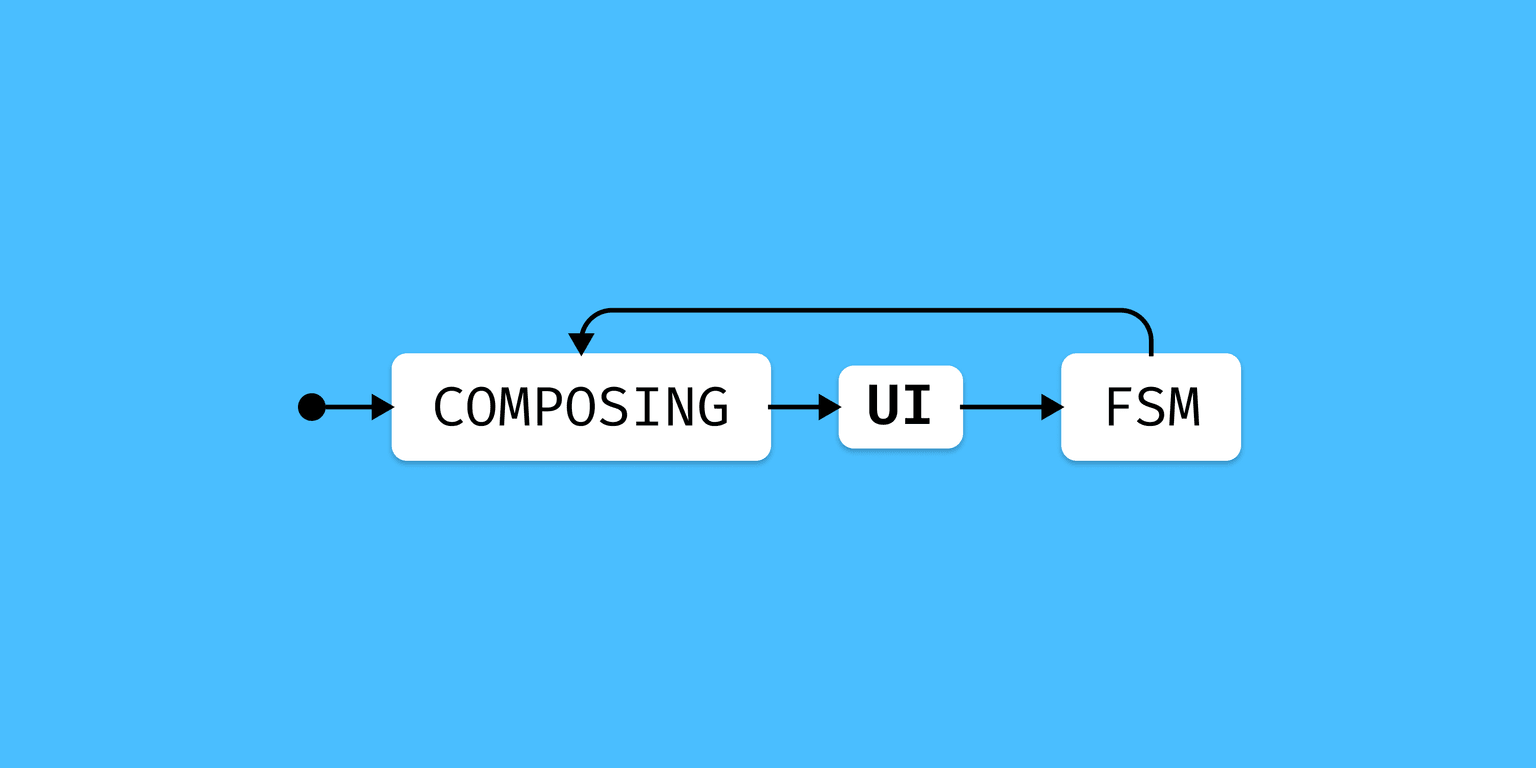
Let's represent the traffic light FSM on a graphic, so we can visualize the state transitions and understand how the machine works. Usually, you'll see the FSM represented like this 📸:

Try to link this example with the mathematical definition we introduced before! Seems easier right? ☺️
Ok 🆒! I explained how a traffic light works, but now what? How can we use this model to compose better UIs? 🤔. Now that we understand how FSM works, we're going to code a JavaScript application to see the advantages and benefits! 👀
Implementing a FSM with JavaScript
The traffic light is a simple example to understand the concept of FSM. However, to showcase all the benefits and the potential of this concept, we're going to build something a little bit more complex. Such as a UI that could potentially fail due to external circumstances.
The application that we're going to build is a UI with a button, whenever the button is pressed we're going to call an external API and we're going to render the response of the API in our app.
Defining the state machine
Before starting to code, as we've seen in our previous example, the first thing we need to do is defining our state machine.
This is actually the first benefit. Why? Because from the first moment you have to define the FSM and this process helps you to plan and contemplate all the possible states of your UI. So basically you won't miss any edge case.
This way of approaching a problem is called 🔝 ⬇️ top-down approach. Instead of trying to solve a specific part of the problem without understanding it fully ⬇️ 🆙 bottom-up, first, you define the whole model of your application.
This would be the statechart of the application we're going to build:

As you can see, we defined all the possible states of the user interface and also the transitions between them.
Idle: The initial state.Fetching: The state where the UI is fetching the API.Fulfilled: The state when the API fetch succeeds.Rejected: The state when the API fetch fails.
Now, we can define for each state, the output and behaviour of our application. This makes our UI deterministic and what this means is that given the current state and an input you'll know what the next state is going to be all the time. When you control every state, you are free of bugs 🐛.
Let's build the wireframes 🎨 to define the output of the application:

Our wireframes, implement all the states that are defined by our FSM. We're ready to move on with coding! 👏.
Implementing the FSM
I'm going to build the FSM using plain JavaScript only. Why? I'll answer this question after the implementation 👀.
The first thing we're going to define is our input alphabet Σ. Based on the statechart we designed before. Inputs are events that will cause a state transition in our FSM. Our Σ will look like this:
const EVENTS = {
  FETCH: 'FETCH',
  RESOLVE: 'RESOLVE',
  REJECT: 'REJECT',
}
Next, we are going to define our set of states S. Also, as we defined, we should set the initial state to Idle as S0.
const STATE = {
  IDLE: 'IDLE',
  FETCHING: 'FETCHING',
  FULFILLED: 'FULFILLED',
  REJECTED: 'REJECTED',
}

const initialState = STATE.IDLE
Finally we're going to combine all those pieces into the FSM. Defining the transitions δ between every state in response to the inputs.
const stateMachine = {
  initial: initialState,
  states: {
    [STATE.IDLE]: { on: { [EVENTS.FETCH]: STATE.FETCHING } },
    [STATE.FETCHING]: {
      on: {
        [EVENTS.RESOLVE]: STATE.FULFILLED,
        [EVENTS.REJECT]: STATE.REJECTED,
      },
    },
    [STATE.FULFILLED]: { on: { [EVENTS.FETCH]: STATE.FETCHING } },
    [STATE.REJECTED]: { on: { [EVENTS.FETCH]: STATE.FETCHING } },
  },
}
The FSM is ready to be used! 🥳.
Why did I implement the FSM using plain JavaScript?
Because I want to show how simple it is to create one. As well as to show that FSM is totally decoupled from any library or framework 💯. They don't know anything about rendering, instead, they define the application state flow. This is one of the best things about composing UIs with FSM 😍.
You can abstract and decouple the whole flow from any framework 🙌. You can use this FSM with any library, such as React, React-Native, Vue, Svelte, Preact, Angular...
Demo time 🕹
To see our FSM in action I built a demo app with React so I can show you how our application works! The example is a dummy app that calls a Pokemon API and renders the result, a common task in front-end development nowadays.
Take a look at the CodeSandbox below 👇 and try to break the UI:
- Disable your Internet connection and try to click the button 🔌
- Try to click the button multiple times 👈
- Simulate a slow network connection 🐌
The first thing I did was to define all the UI for every state in our machine. Using a simple switch statement to do the conditional rendering:
const App = () => {
  switch (state) {
    case STATES.IDLE: return (...)
    case STATES.FETCHING: return (...)
    case STATES.FULFILLED: return (...)
    case STATES.REJECTED: return (...)
    default: return null
  }
}
Once our app knows how to render every state of the machine, we need to define the transitions between the states in response to events (inputs). Remember that our FSM has the following inputs: Fetch, Resolve and Reject.
In this case, I'm using a useStateMachine hook from a library, just to avoid having to implement the not-so-relevant React part of the state handling. This hook receives the state machine we defined before as a configuration argument.
const [pokemon, setPokemon] = React.useState(null)
const [state, send] = useStateMachine()(stateMachine)
The hook exposes the state that is an object which contains the current state of the machine we defined and the send function which is the state transition function (δ: S x Σ -> S). Also, we have a pokemon state variable to save the API response.
So, to transition from a state to another, we will call the send Function passing an Input as an argument.
As you can see we have a onFetchPokemon function to make the API request. As soon as you click the Button, we will send a FETCH input and as a result of this, we will transition the state to Fetching.
If there's an error, we're going to catch it and send a REJECT input to transition the state to Rejected.
If everything works well we will save the response into the pokemon state variable and then send a RESOLVE input to transition the state to Resolved.
const App = () => {
  const onFetchPokemon = async () => {
    try {
      send(EVENTS.FETCH)
      const pokedexRandomNumber = Math.floor(Math.random() * 151) + 1
      const pokemon = await fetchPokemon(pokedexRandomNumber)

      setPokemon(pokemon)
      send(EVENTS.RESOLVE)
    } catch (ex) {
      send(EVENTS.REJECT)
    }
  }
}
Our UI already knows what needs to render on every state, so basically, we've got all the possible scenarios covered 🎉. We're 100% free of bugs! 💯
Benefits
Let's do a quick summary of the benefits of composing user interfaces with FSM:
- Contemplate and plan all the possible states of the application 🧠
- Document the application flow, to make it more accessible to non-dev people 📝
- Predictable and declarative UIs 📖
- Makes code bases easier to maintain 💖
- No unexpected bugs 🐛
Libraries
I didn't use any library on purpose to build the FSM, but I would really recommend looking at the following tools If you plan to incorporate them into production:
Enjoyed the article? 😍